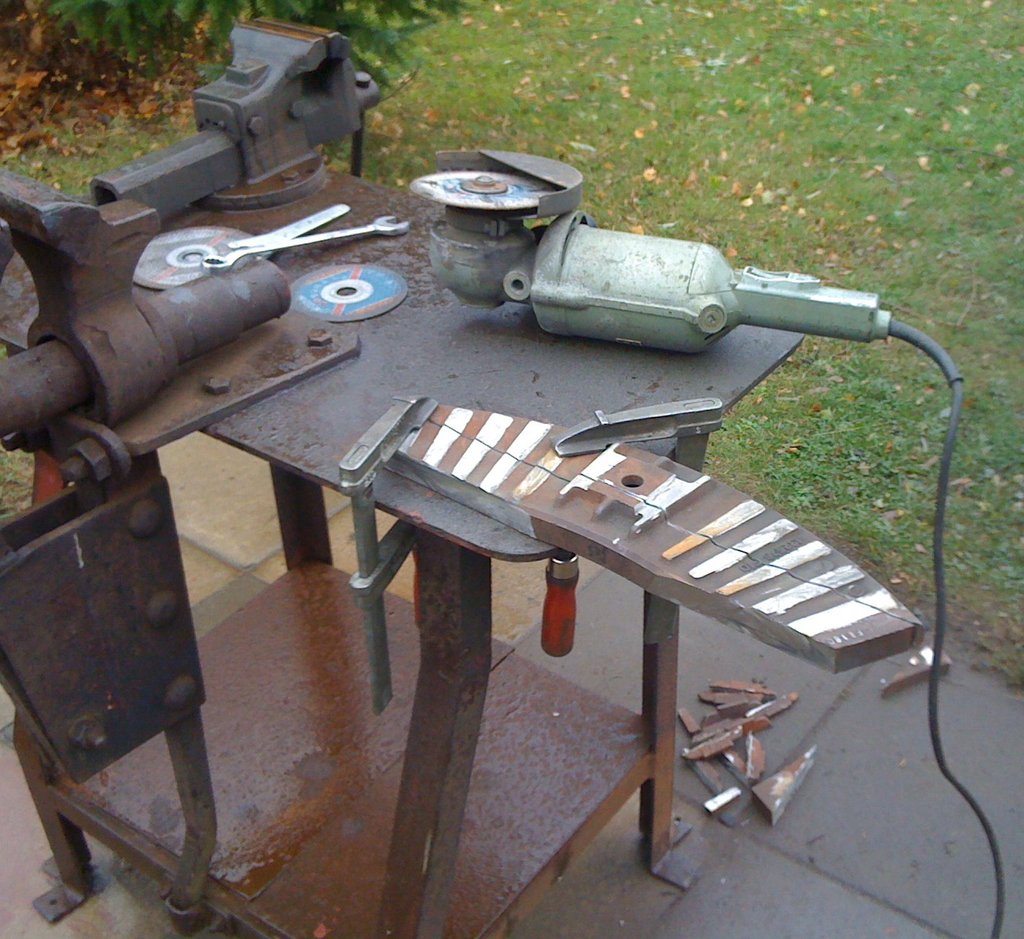
Clamping cube #
Since I wanted to try out my new stick welder (an old Dalex TK 29/42), I tackled the clamping cube I had recently been thinking about.
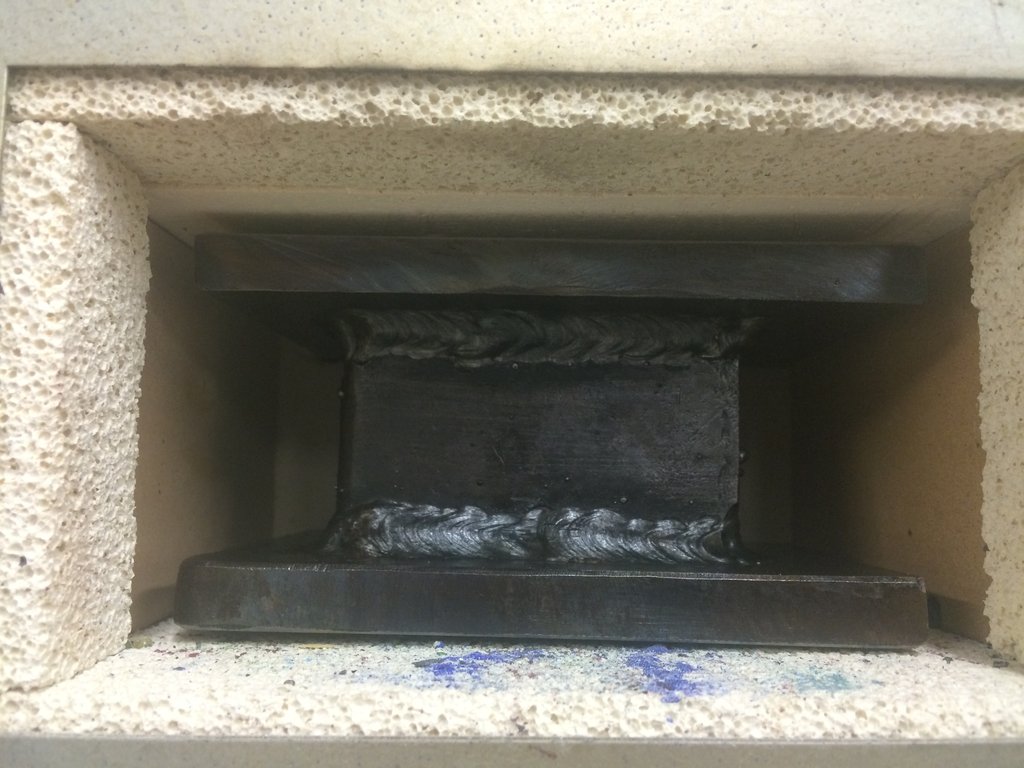
First, cut the raw stock to size:
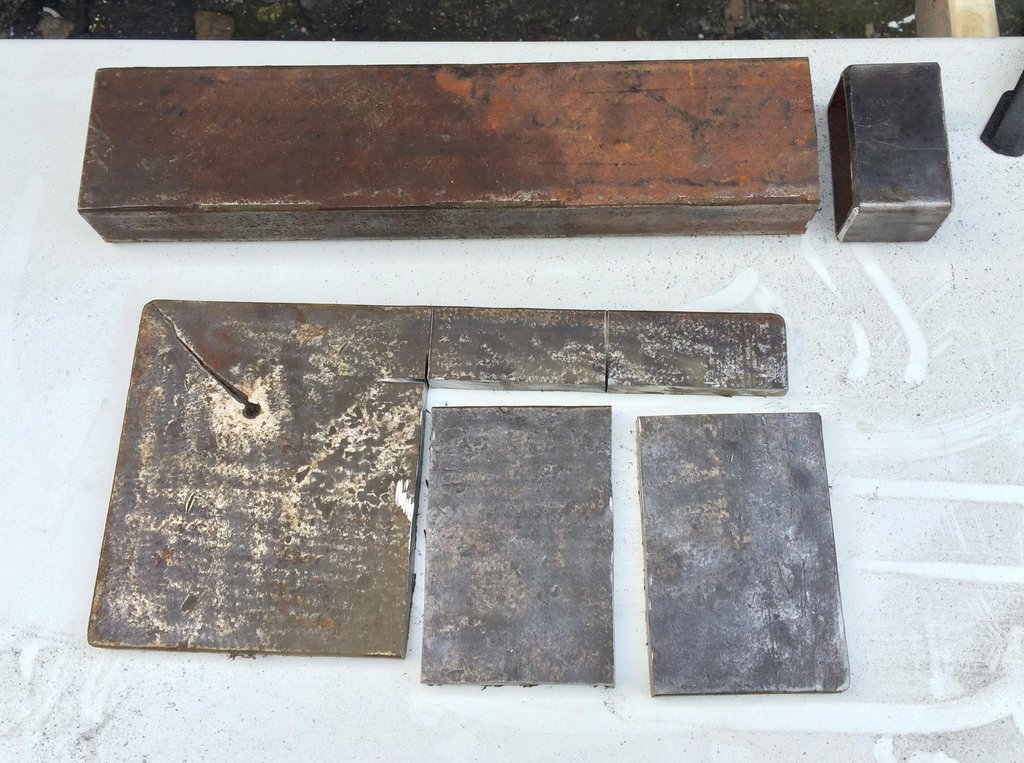
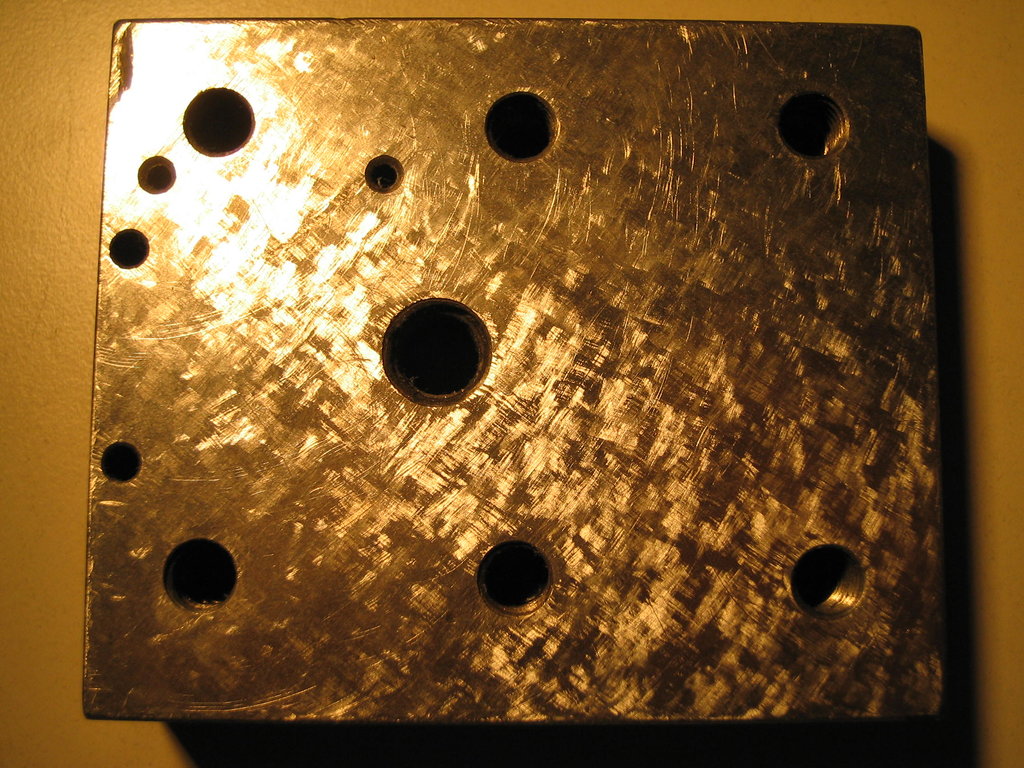
The rectangular tube has a 40x80 mm cross-section, 40 mm long. The plates are 80x120 mm, 12 mm thick.
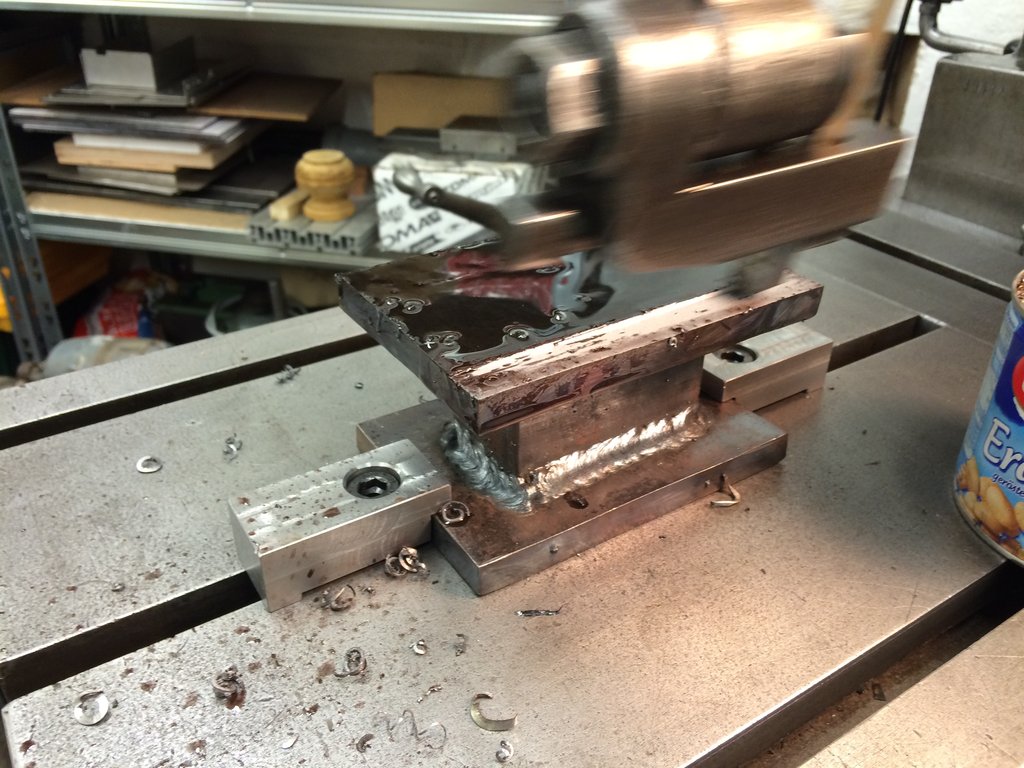
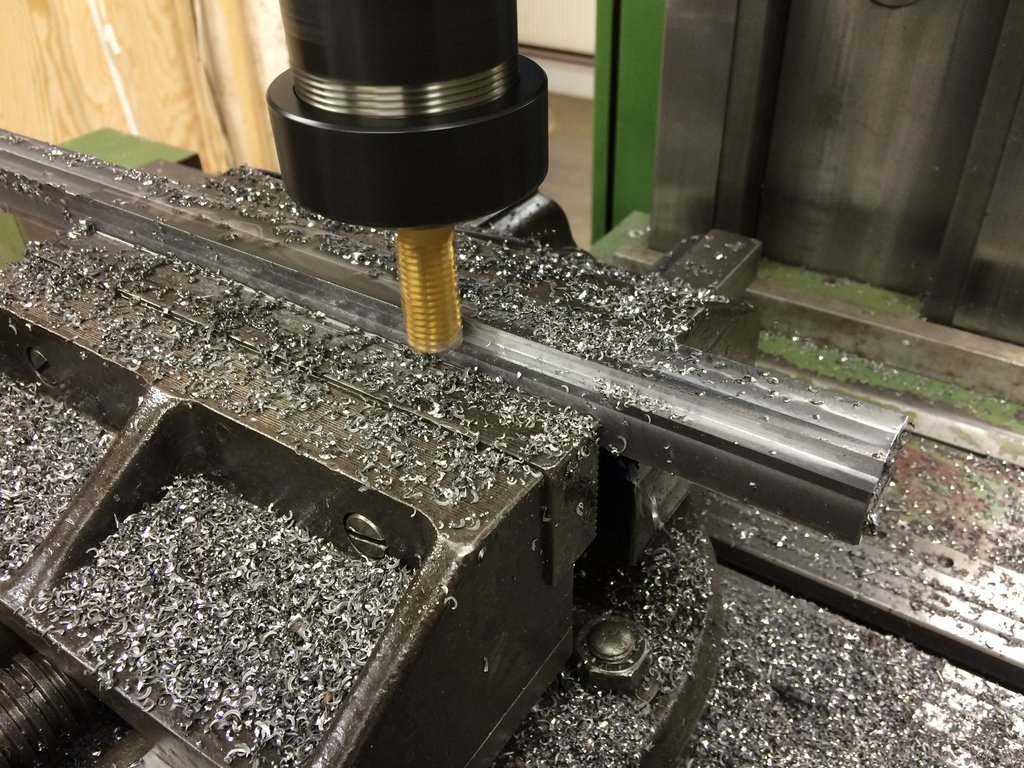
The pieces were then welded with 3.25 mm rods at about 130 A. For the thick plate I went a bit above the 120 A current recommended by the rod manufacturer.
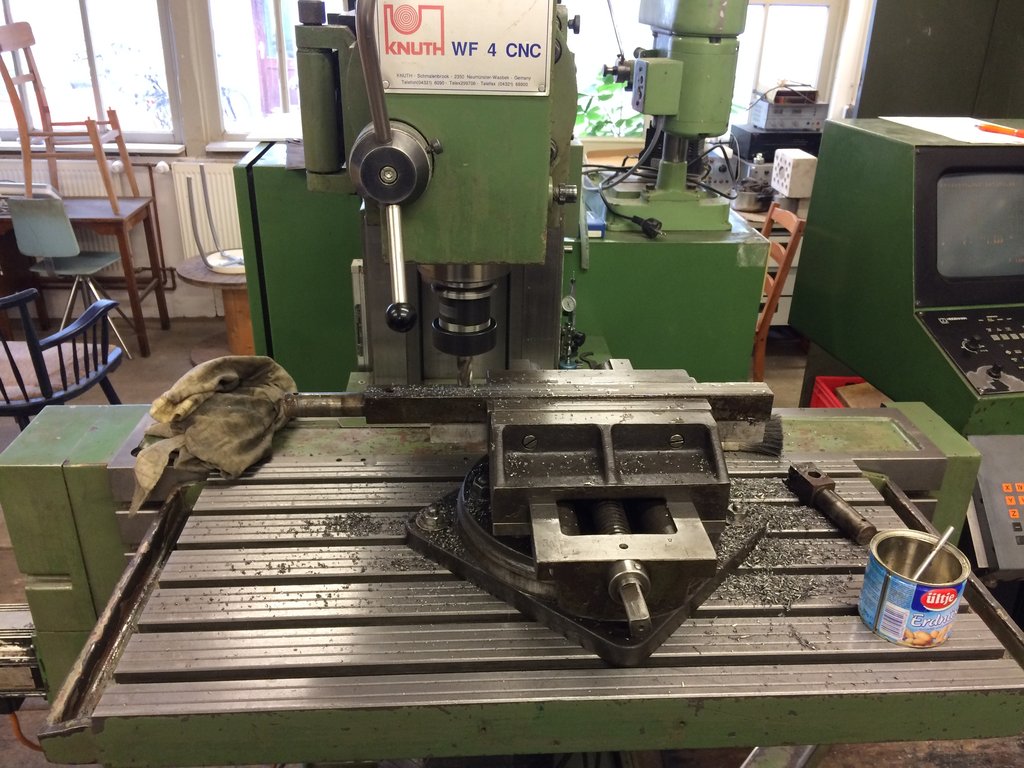
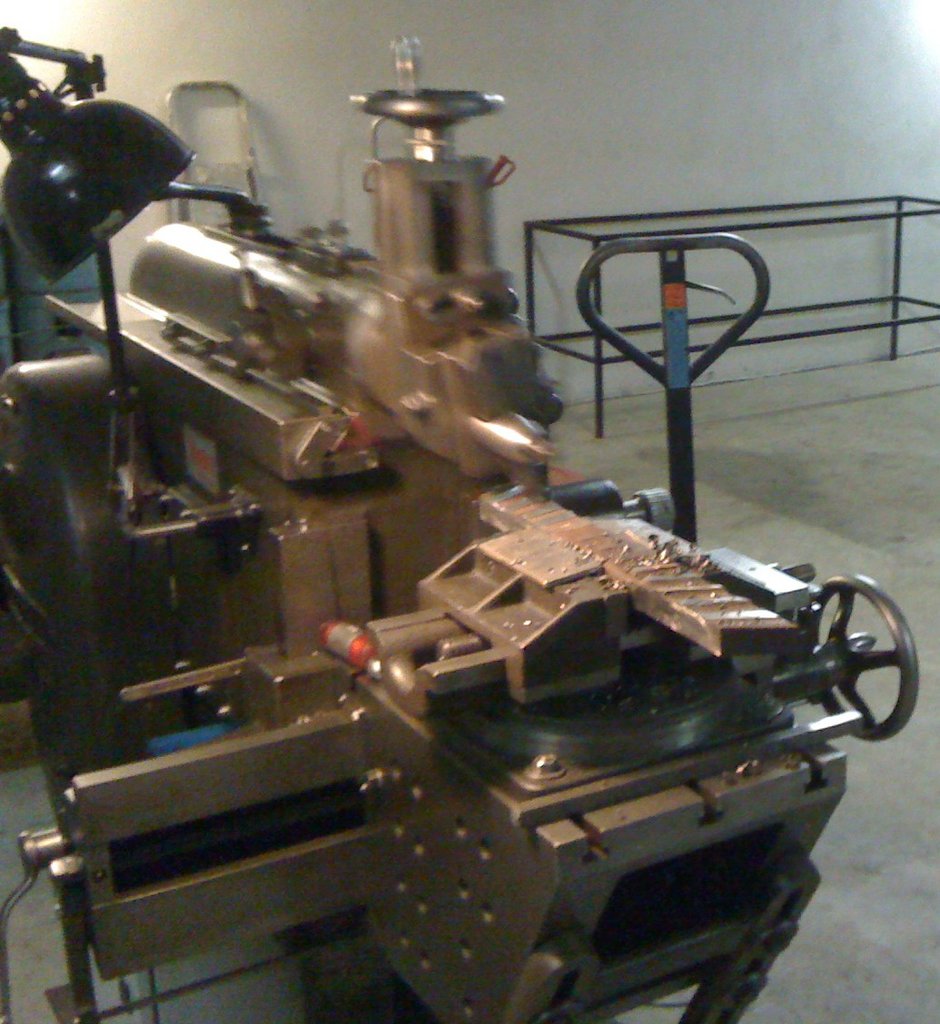
The pieces were then de-scaled on the Klopp:
Conveniently, the strap clamps from the grinding vise also fit this clamping block.
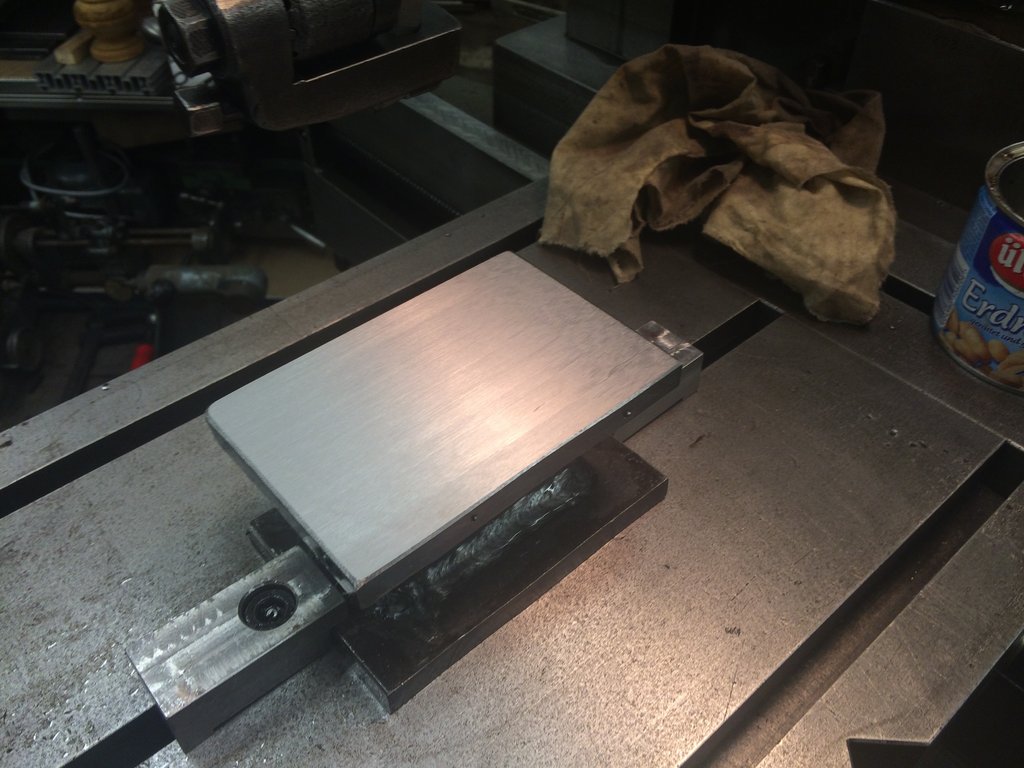
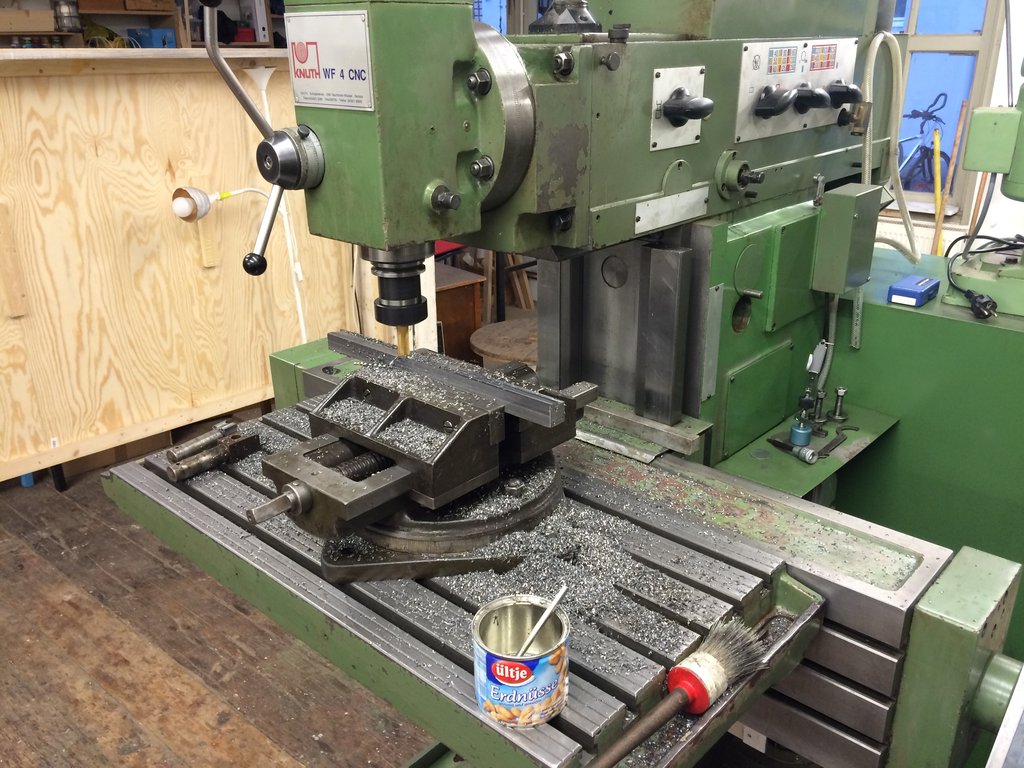
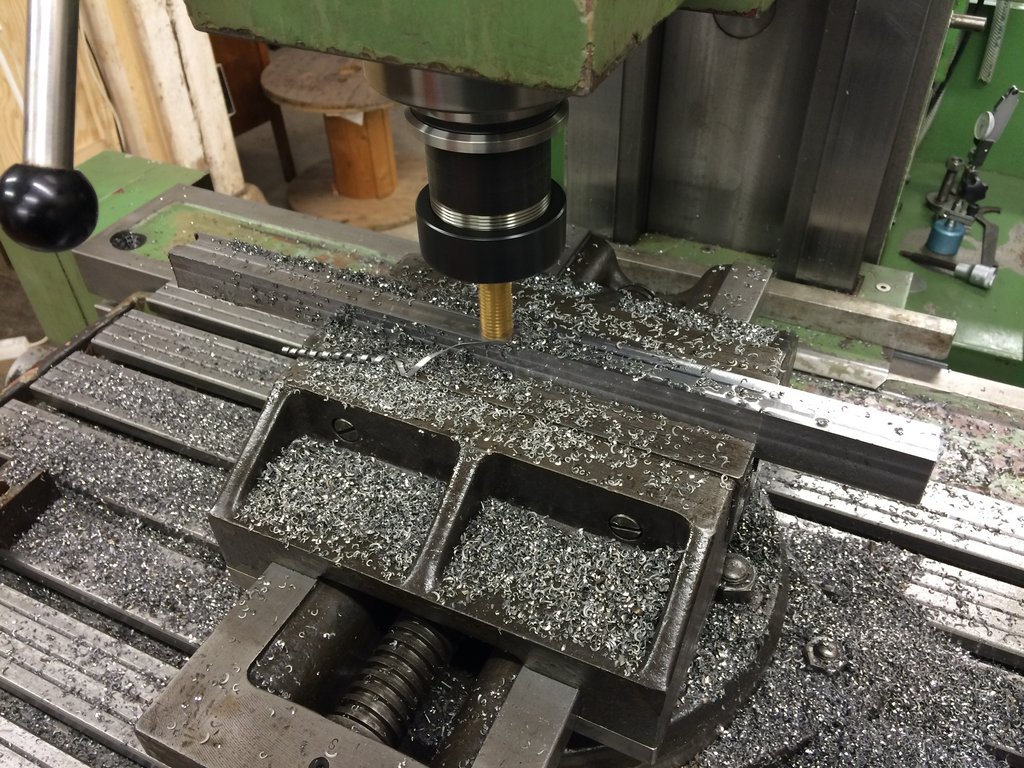
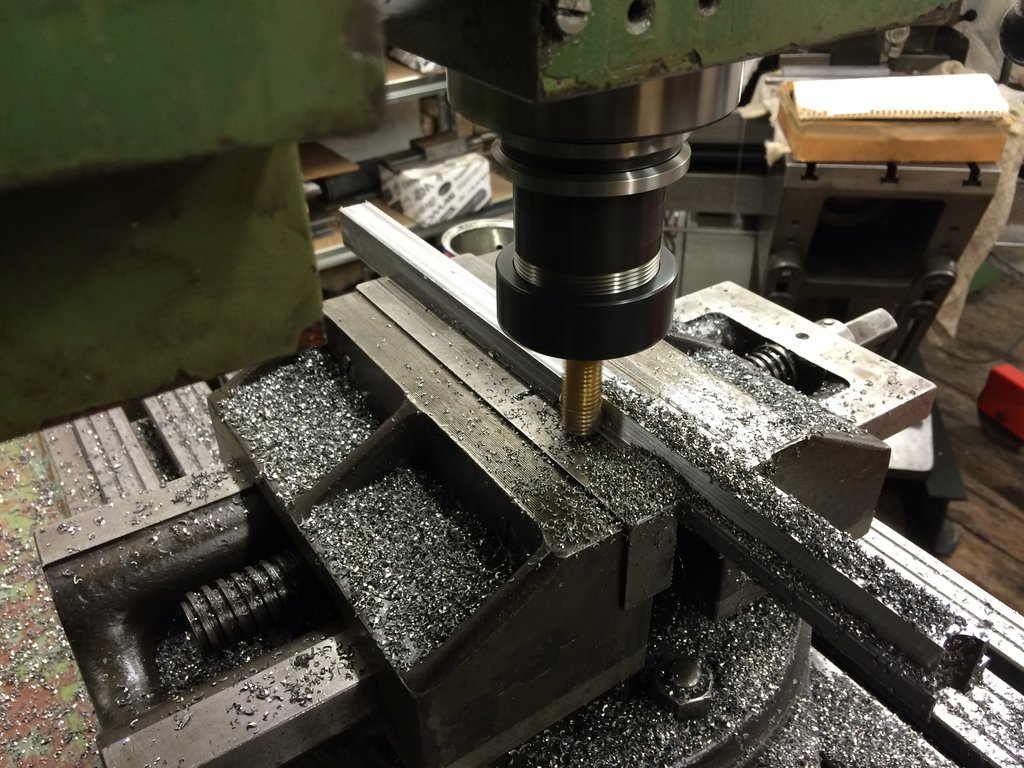
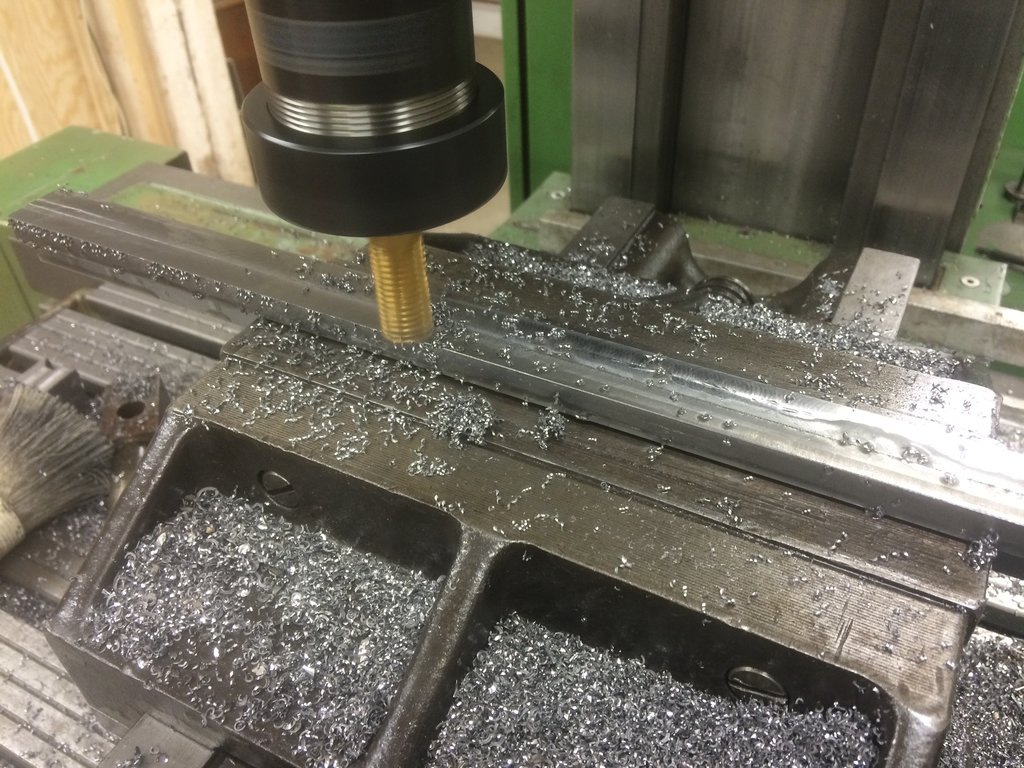
After roughing the underside, finishing followed with a wide-radius facing tool:
On the surface plate, however, the result looked like this:
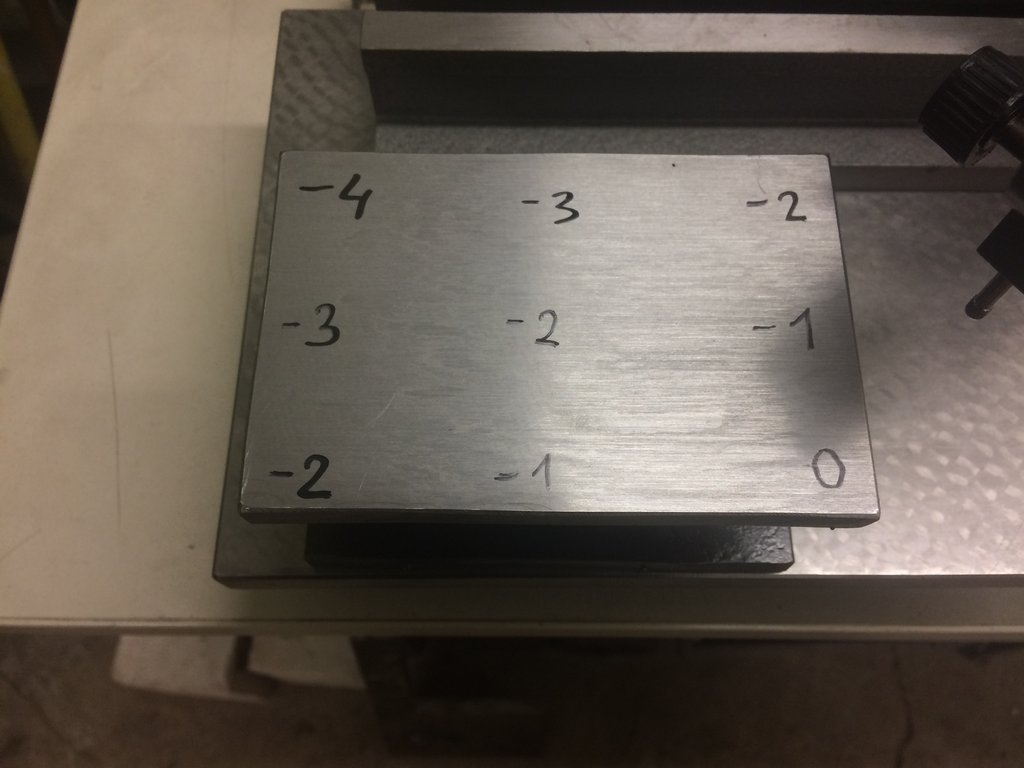
It seems that the heat input from welding did induce stresses in the plate, and these are now revealing themselves.
I first thought repeated flipping and alternate machining of both sides would get rid of the warpage. Sadly that turned out not to be the case…
The surface is uniformly inclined. Unfortunately the “rocker test” (see Connelly: push the part around its corners in a circle and see whether it pivots about a common point) showed that the underside has a bump in the middle. A measurement of the side is still pending.
Before I scrape myself silly, the part is going to be annealed.
It even fits in the furnace, fortunately:
The furnace takes ages to heat up, though, so I didn’t want to start the run this evening anymore. Maybe at the weekend…
T-nut blanks #
I spent the afternoon in the workshop and what came out of it is a bar from which I can make T-nuts for the CNC mill or the shaper as needed.
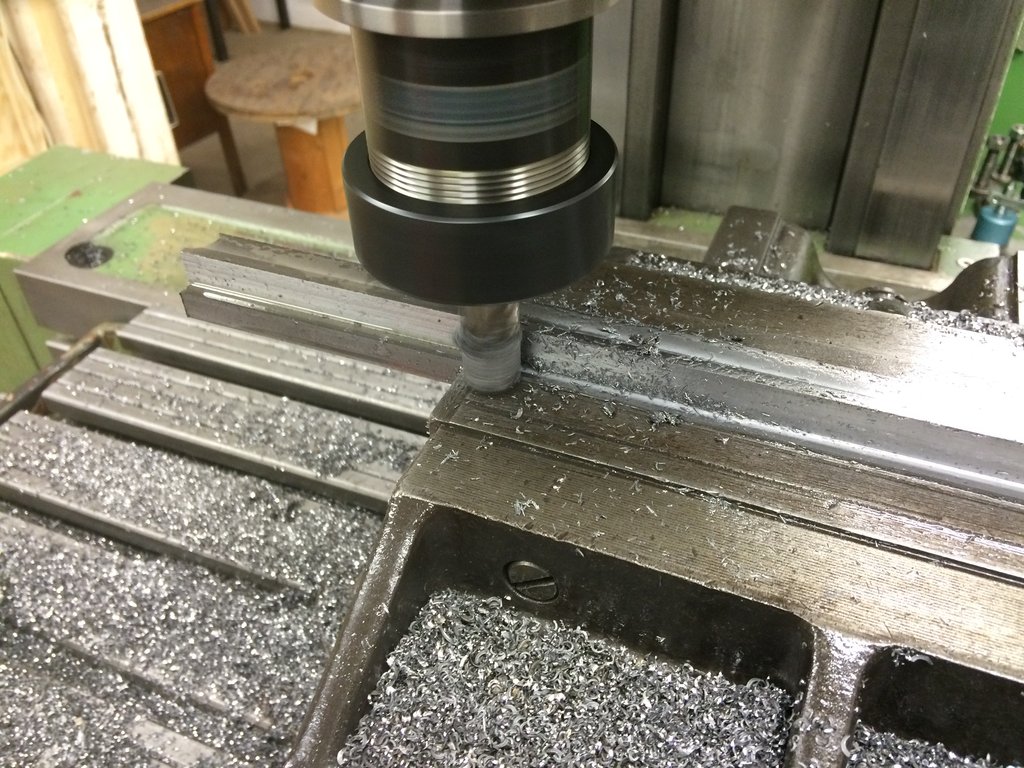
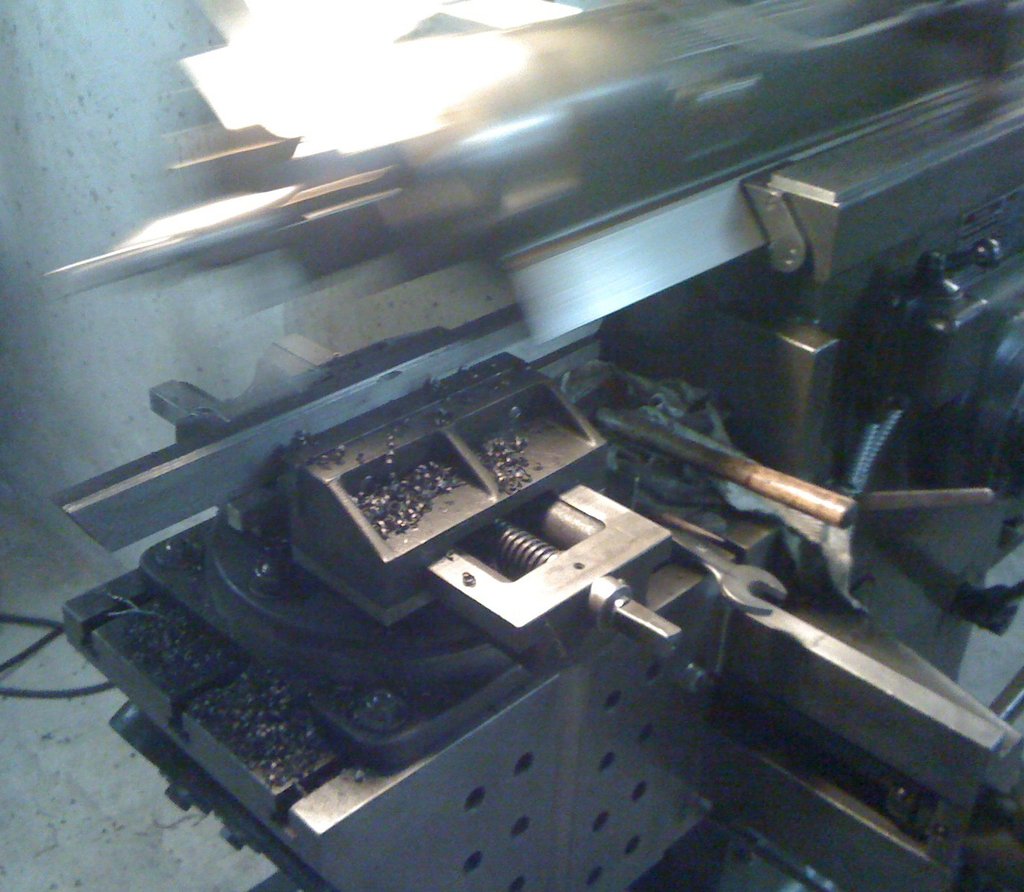
In the first step I milled the raw stock – some sort of hot-rolled material – flat all around and roughly square:
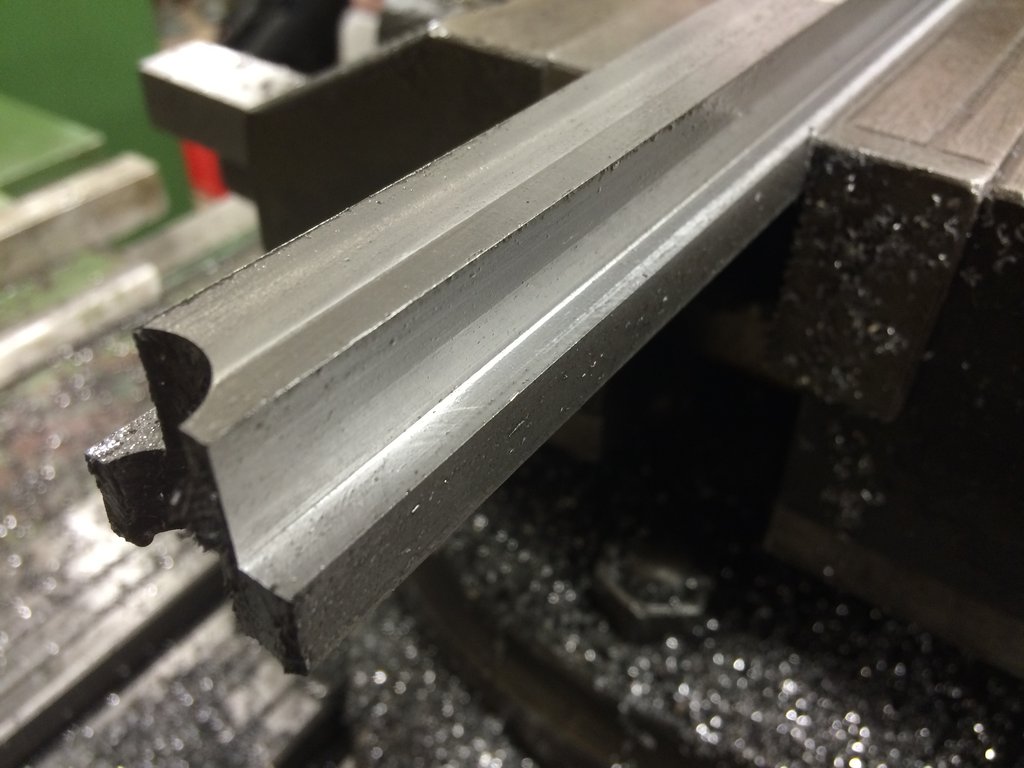
Then to width 24 mm and to height 22 mm. The slot floor is 25 mm wide and 10 mm tall, the slots themselves are 14 mm tall and 14 mm wide. The top edge of the T-nut sits a few mm below the work surface, so I get a nice long thread engagement and don’t need to worry about the clamping bolts pulling out of the (possibly soft) steel.
I started with an older 16 mm finishing mill; the new knurled roughing end mill, by contrast, pulls through the material like butter:
Now we’re already at pre-roughing the T shape. Since this is the first real job for the mill since it has been with me, I started very cautiously with the depth of cut. Pleasantly, I was able to do everything in climb milling.
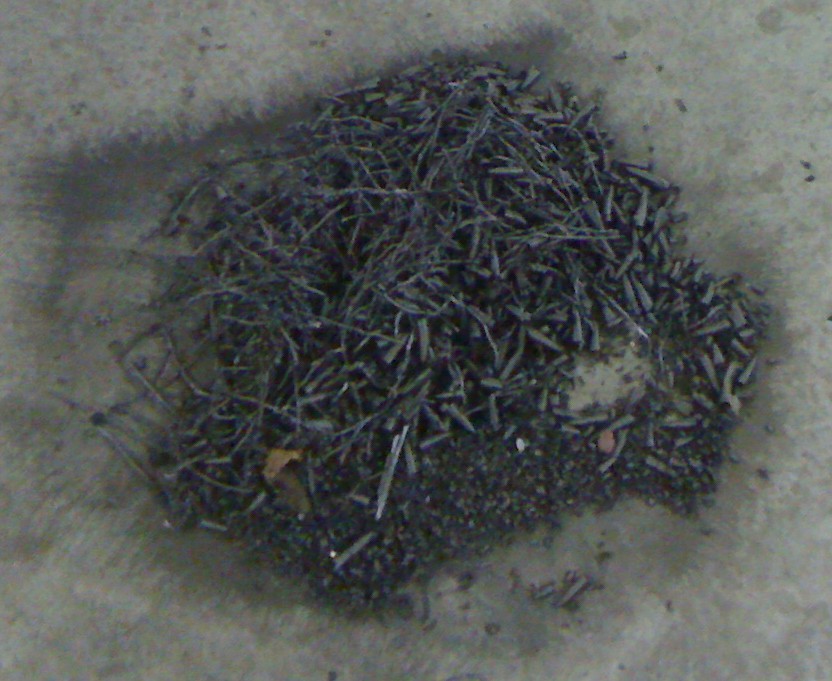
On the other side I went straight to 12 mm in height and 5 mm in width. The machine doesn’t even notice; the cutter just munches through it the same as at smaller depths. Roughing was at 800 rpm and 100…200 mm/min feed.
Finishing then again with the old finish mill at 630 rpm and 100 mm/min feed:
The surface finish is presentable:
If you work too precisely, things just don’t fit any better… In total I had to reduce the width of the T-nut counterpart from 13.99 to 13.90, because raised burrs from previous ill-fitting T-nuts and grit in the machines’ slots had caused the new bar to bind. Each time, re-set, take a scratch cut, measure, take off another 2/100 mm… After all that, it wasn’t a stretch to also leave 5/10 mm of clearance underneath, so the T-nuts will work on the Klopp too:
That’s the end-state for today:

The blank is now about 400 mm long. Eight 30 mm long pieces are already spoken for – four with M10 and four with M6. The rest will surely come in handy…
Straight edge for spotting #
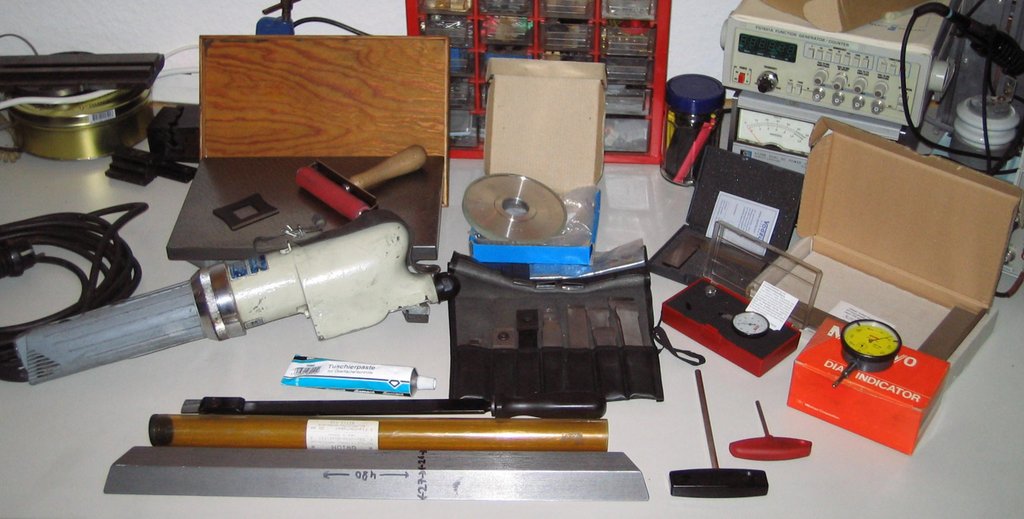
Since apparently half of Germany is into hand scraping these days, I wanted to join in. So I gradually gathered/bought the necessary equipment:
and just got started:
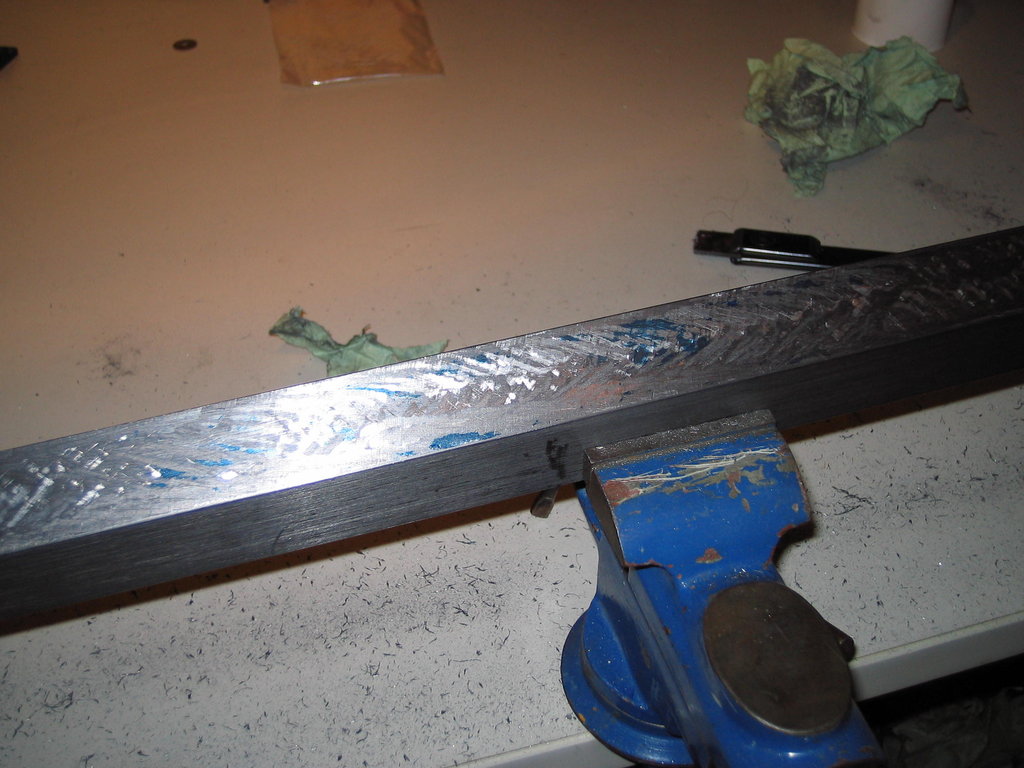
But since flat surfaces quickly get boring, I also wanted to be able to scrape dovetails (e.g. on the compound rest of a lathe). For that I need a straight edge for spotting!
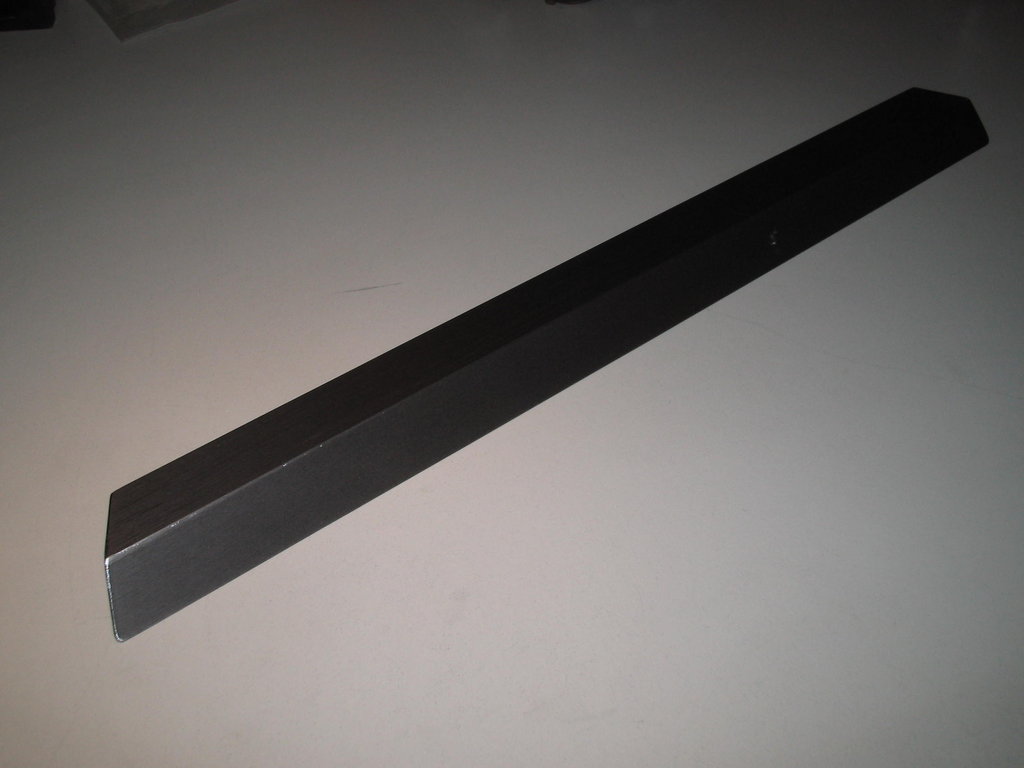
At the scrap yard I found the following casting:

From it I want to make two straight edges, a small one and a large one:
So first cheerfully hack at it with the angle grinder:
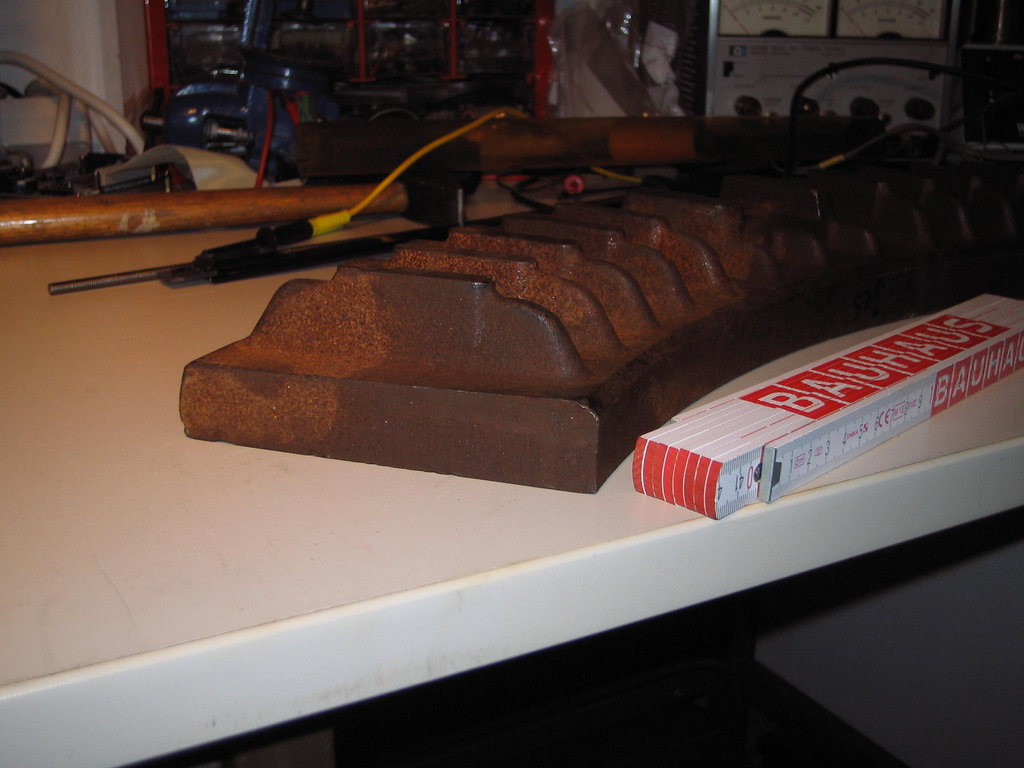
Then onto the Klopp for roughing:
Towards the end, the finishing pass:
The curly chips come from finishing with a bit ground at an angle with a very large radius:
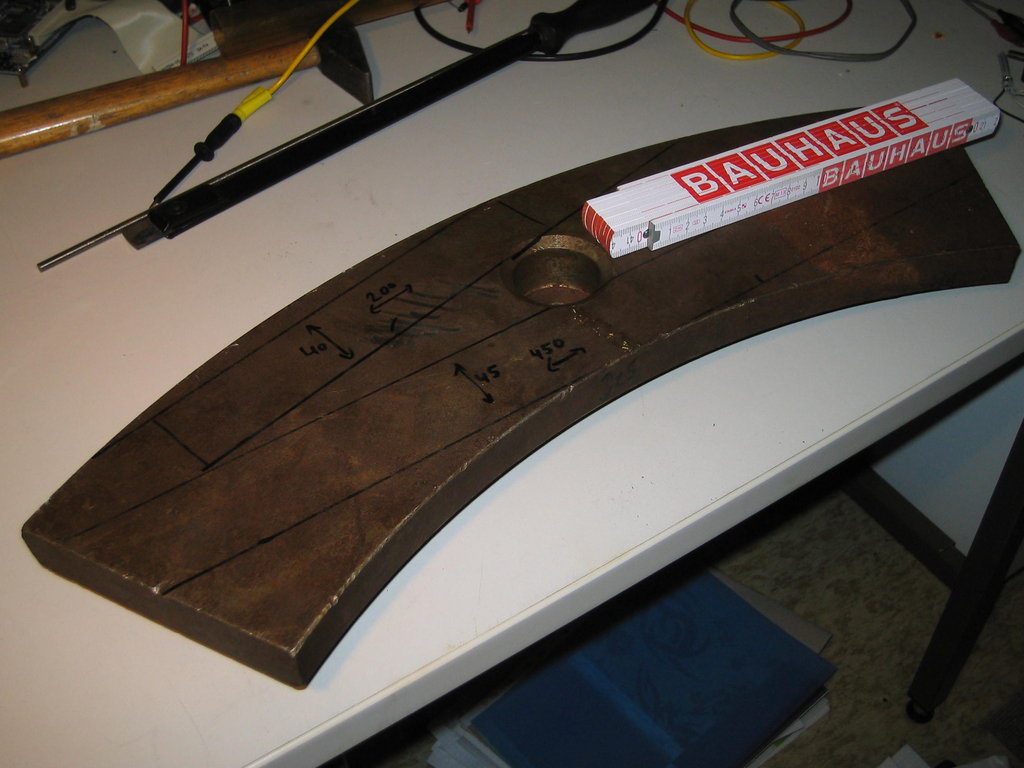
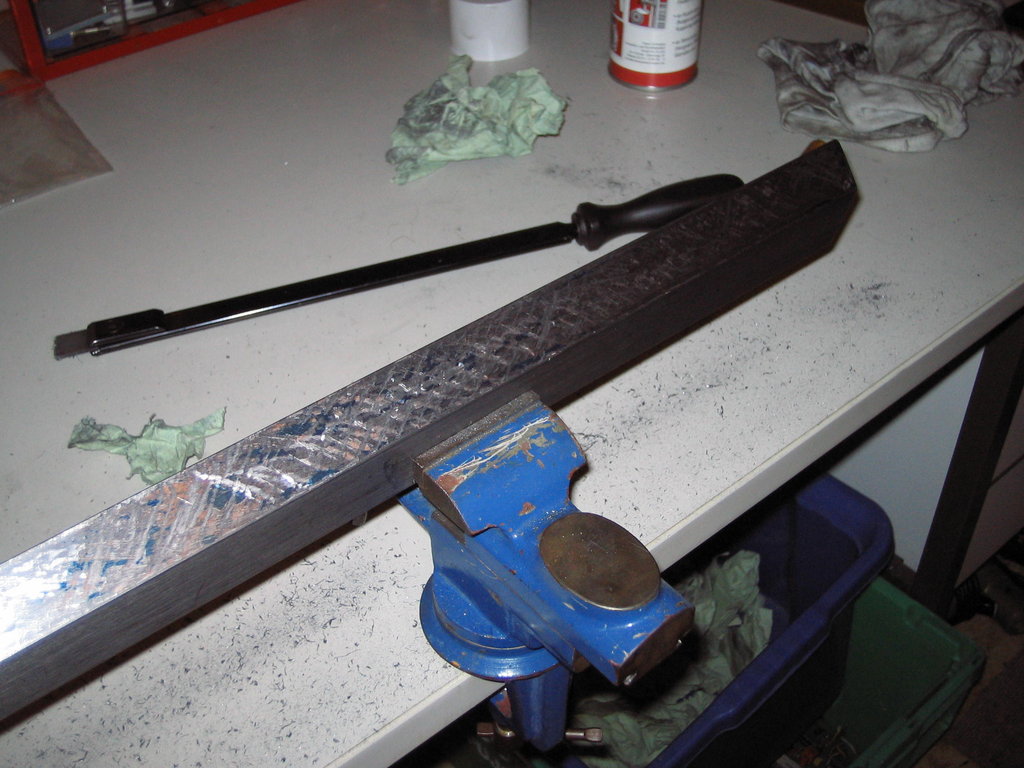
Ready for scraping:
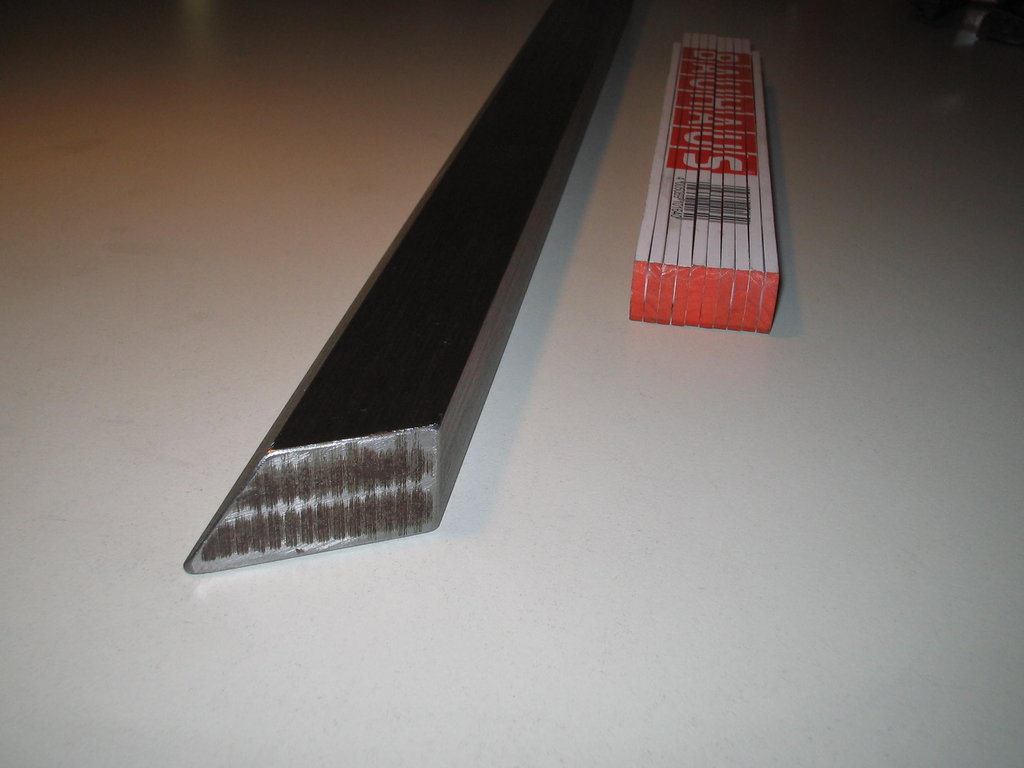
Now I still need to get a larger surface plate of at least 500 mm in length; there’s nothing more to do on the small one (above in the picture).
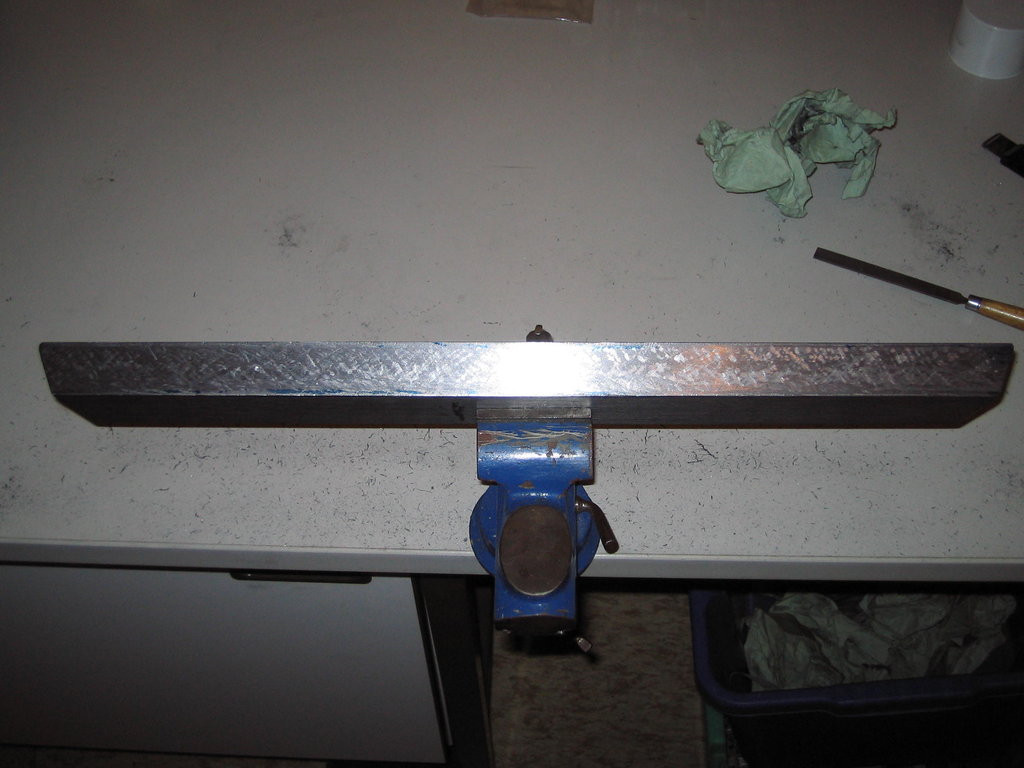
But why wait? So I just grabbed the scraper, blued the plate and got going. As nothing showed up on the first spotting, I first ran the scraper over it roughly a few times. Unfortunately I don’t yet have a sufficiently large surface plate or a long master straight edge, so the result may be inaccurate. I therefore spotted diagonally on my 300x200 mm plate; have a look:
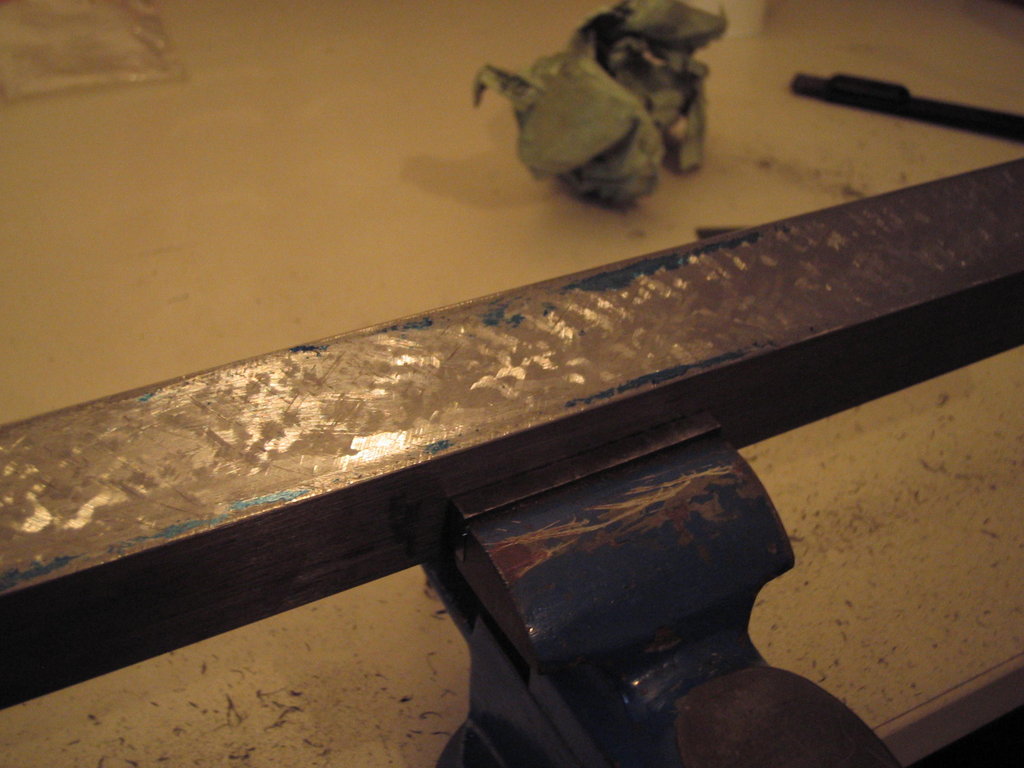
In detail:
About 4 passes later:
Later still:
End-state for today:
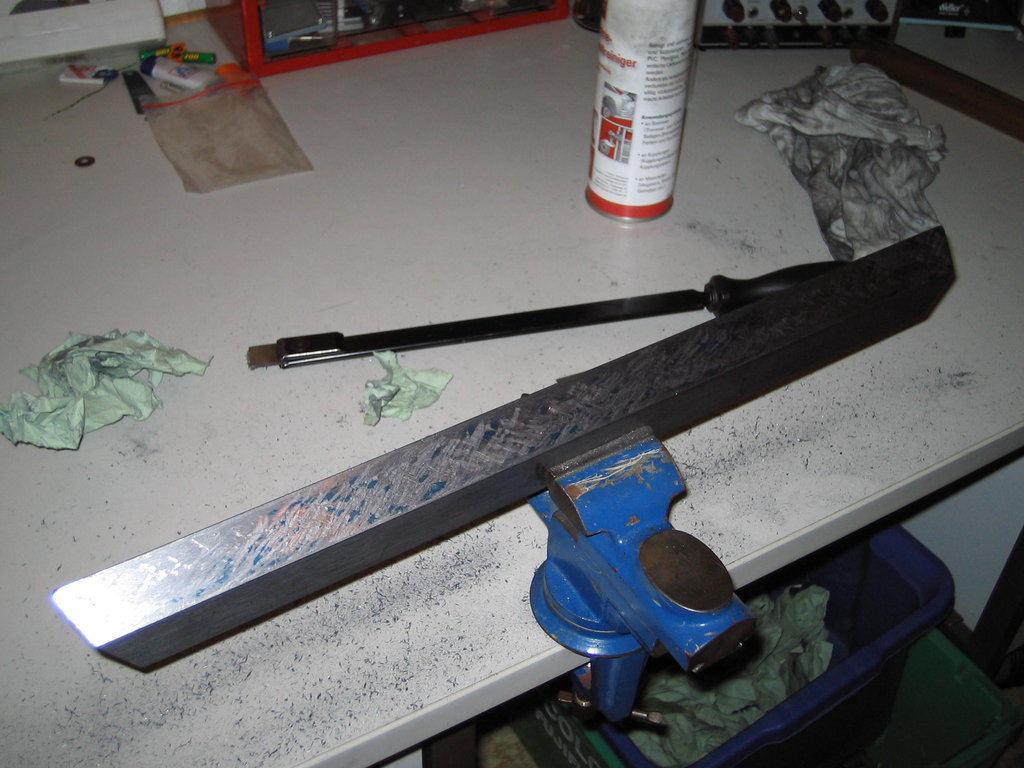
The “rocker test” also says that the part has a hump in the middle. Unfortunately, even diagonally I can only sensibly spot about 330 mm on my plate, but the straight edge is roughly 480 mm long…
Oh well, I should soon get a larger plate, and then it won’t be a problem.
By the way, you can clearly see the pointed, elongated scraping chips in the pictures. That suggests the part is malleable cast iron. Grey iron tends to give crumbly chips. Either way, you do get graphite – and pitch-black hands – from both, as I had occasion to discover.